I wanted to post some sort of osechi (Japanese new year’s fare) and mochi article for New Year’s but I missed my opportunity. However, I’ve been eating a lot of mochi lately and started thinking about an easier way to make it. I figure eating mochi is a year round thing so I thought I would post my findings on easy mochi making. If you’ve ever made mochi from scratch it’s an arduous process. First you have to soak the rice for 8-10 hours and then you have to steam it and then you have to pound it. Pounding it is another story because that requires a kine and usu (wooden stick and bowl) used to pound it. Who even has one of those? My parents have a mochitsukiki (mochi maker) which is great because it does all the steaming and pounding for you. All you have to do is soak it. The only problem is that they are expensive and I have enough gadgets in my house without getting another large one that only has one function.
I looked around online to see if there were any tips for making mochi using a rice cooker. I found out that I don’t have to soak the rice for 8-10 hours when using a rice cooker that was a plus. This also meant that I don’t have to plan as much when I want to make it. The difficult step was to pound the mochi without having a kine and usu or a mochitsukiki. Initially I put it in a bowl and mashed it up using two pestles. This took about 20-30 minutes and it was difficult to get it to a smooth consistency.
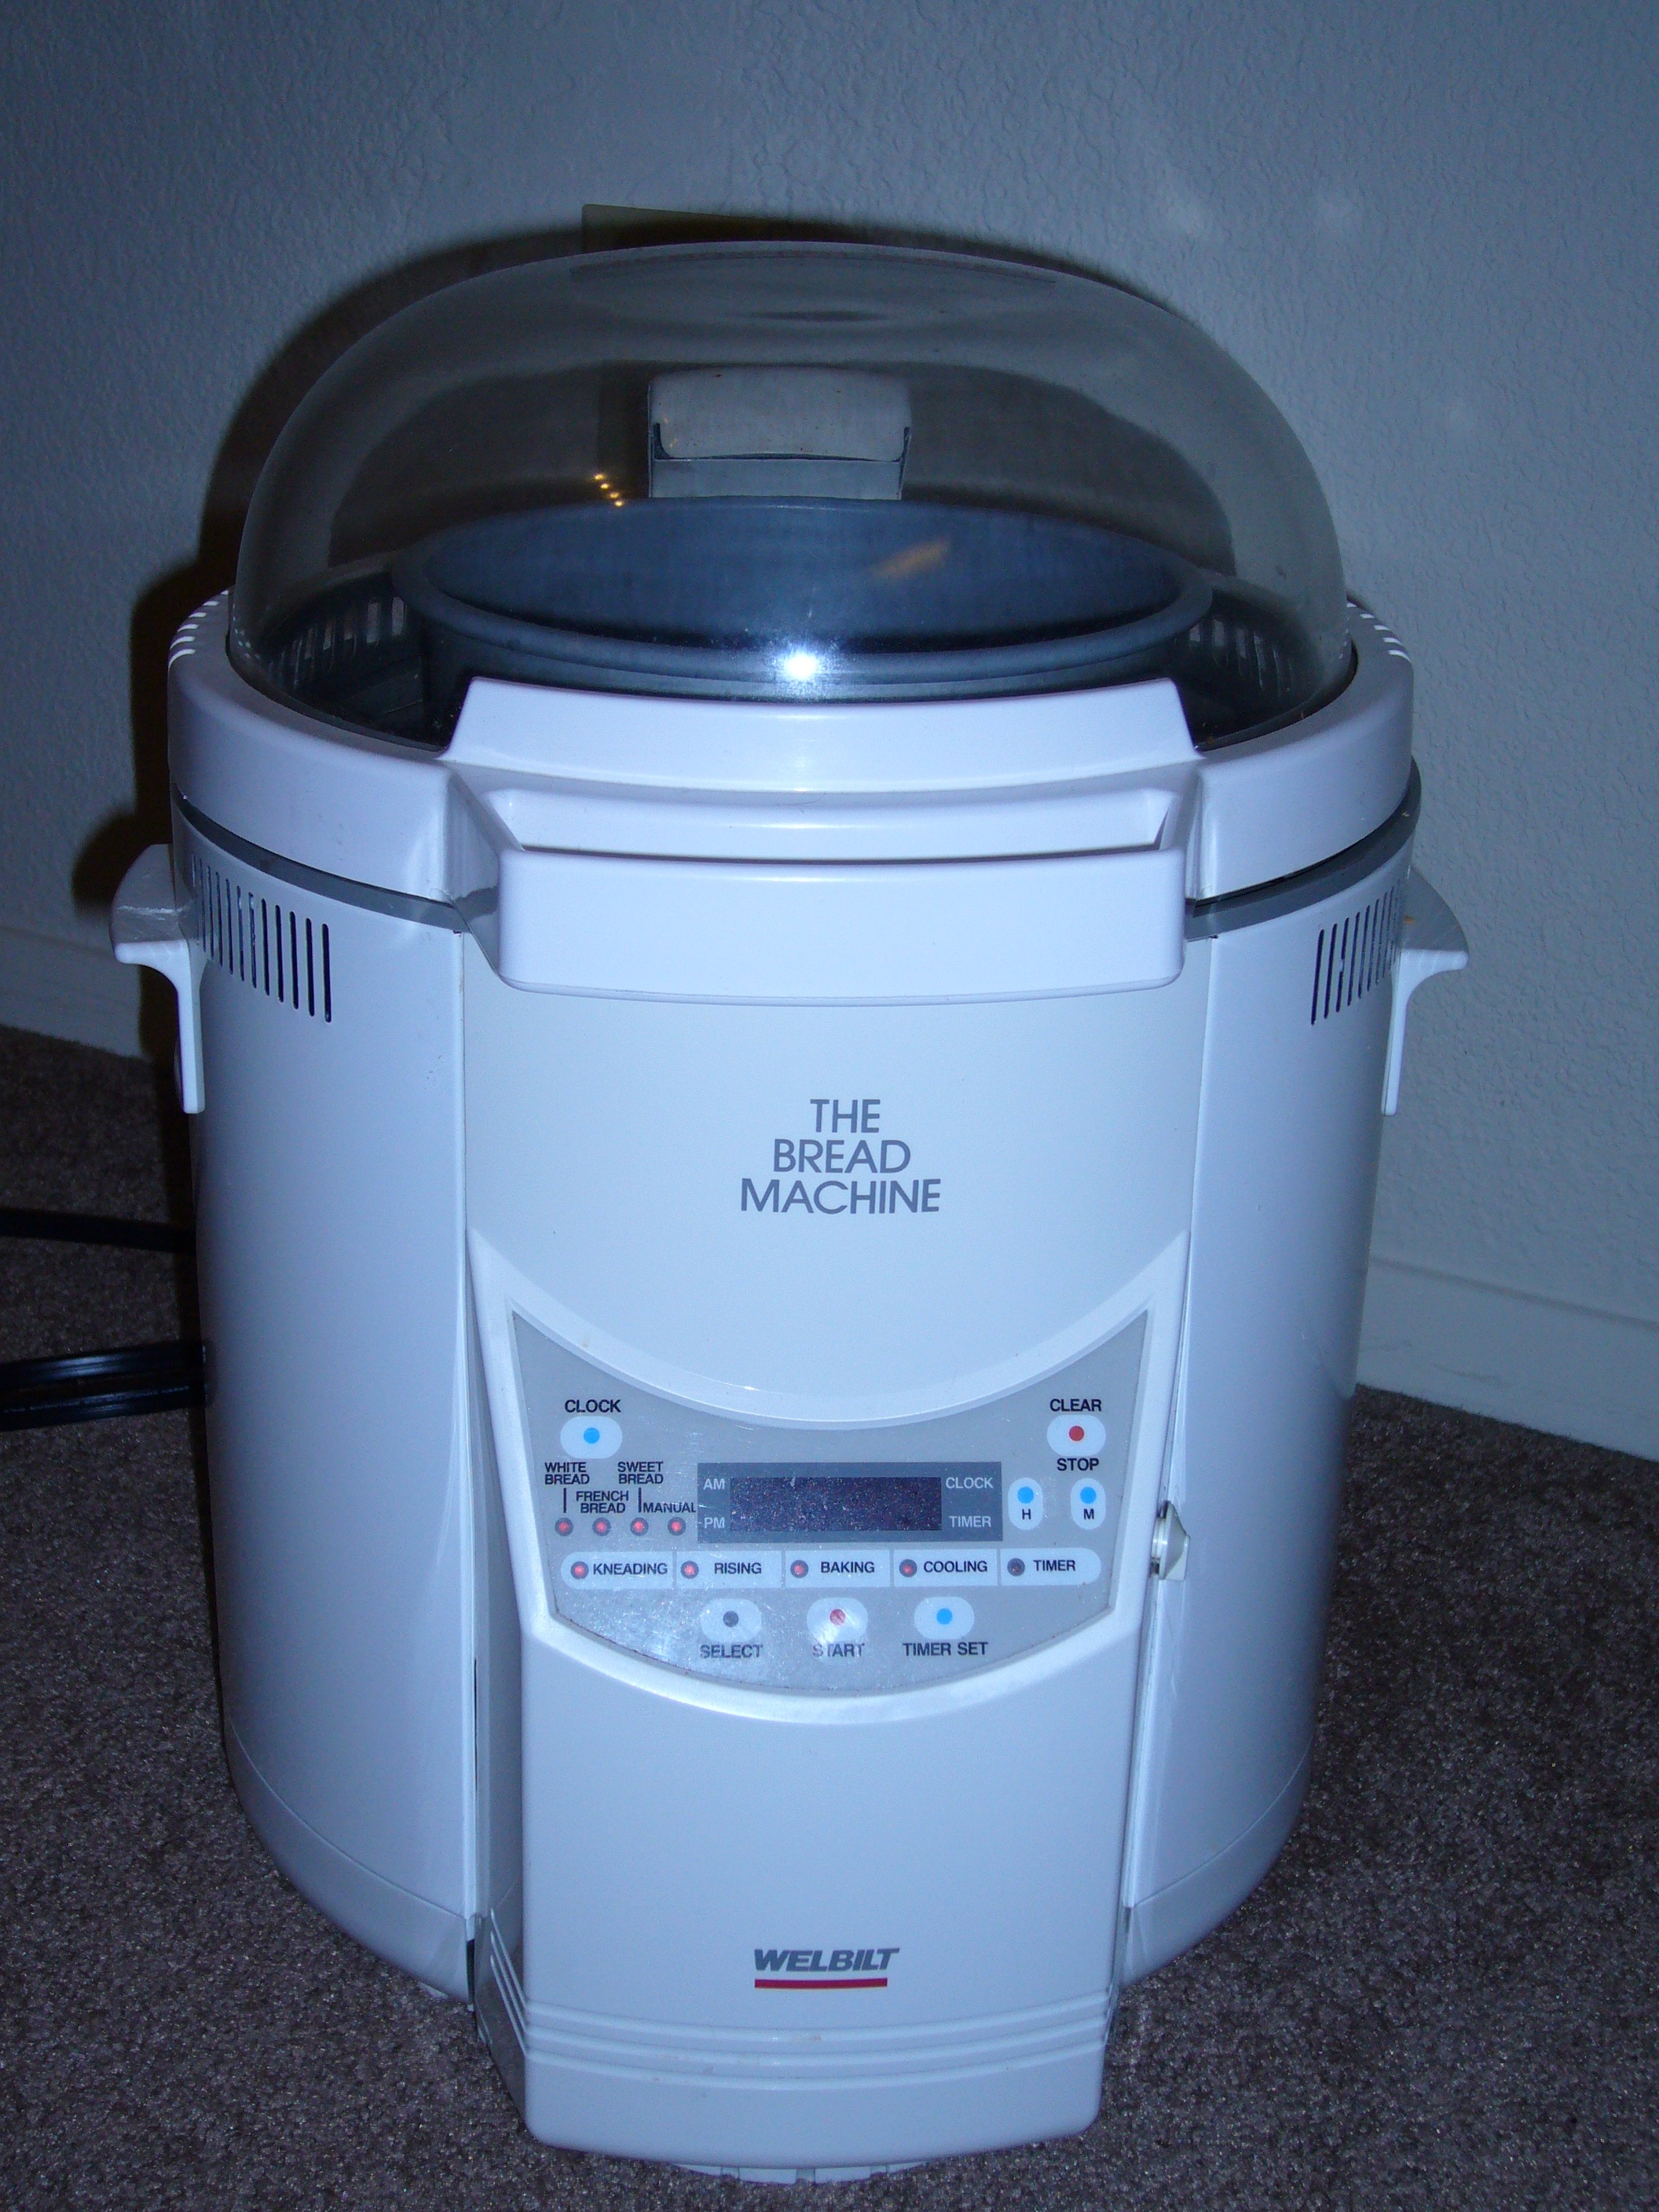
Let me back up a few months to tell the rest of this story. The last few months I started baking bread using an old bread machine I found in my parent’s garage. I kid you not, it looks like R2D2. In fact that’s what I call him. (See Photo Below). Because it’s a bread machine, it comes with a kneading function which incidentally is the same type of technology used in mochi machines. (At least the one that my parents have). Up until this time, Mister man has mostly been in charge of pounding my mochi with bowl and pestle and was probably growing tired of it. One day he turns to me and says “I wonder if your bread machine can make mochi?” It was as if he hit a light switch. I don’t know why I didn’t think of that sooner. Mind you, the only thing Mister man can cook is udon and miso soup. He’s learning though.
Eager to try it out and relieve himself of manual labor, he quickly set off to test his theory. He cooked the mochi rice in a rice cooker, dumped it in the bread machine and set the bread machine to the kneading cycle. The mochi took about 45 minutes from start to finish. Mister man wasn’t sure how long to knead it for so he let it run for the whole cycle, which was about 15 minutes. Kneading times vary by machine but I found that 7 minutes worked well on mine. When you knead too long, it starts to get too gooey, which is what happened when Mister man did it for 15 minutes. If you don’t have a bread machine you can use the kneading function on standing mixers. I have never tested that out but if it worked on a bread machine, I’m thinking it will work with a standing mixer. The only benefit I can see the bread machine having over the standing mixer is that the bowl is non stick.
Tip (Removing the mochi from the bread machine)
When removing the mochi from the bread machine, make sure you have a bowl of cold water handy so you can dip your fingers in it which keeps the rice from sticking to your hands. I found that the kneading process cools down the mochi so it’s not unbearably hot. Do this step quickly and dip your fingers in the water after each nudge.
Tip (Shaping the mochi)
Mochi can be very messy if you try to ball them up into individual size pieces. I like to drop all of the mochi onto a plastic lined grill pan. There are mochi trays in Japan with both horizontal and vertical lines that leave an imprint on the mochi so you can cut it after it cooks. Unfortunately, they are hard to come by so I improvised with a grill pan. Once all the mochi is on the tray or pan, place plastic wrap over it and smooth out the mochi with your hands. Let the mochi cool and place in the freezer about 4-5 hours and cut into squares. If you use a grill pan, you’ll have at least some lines to guide the your cuts.
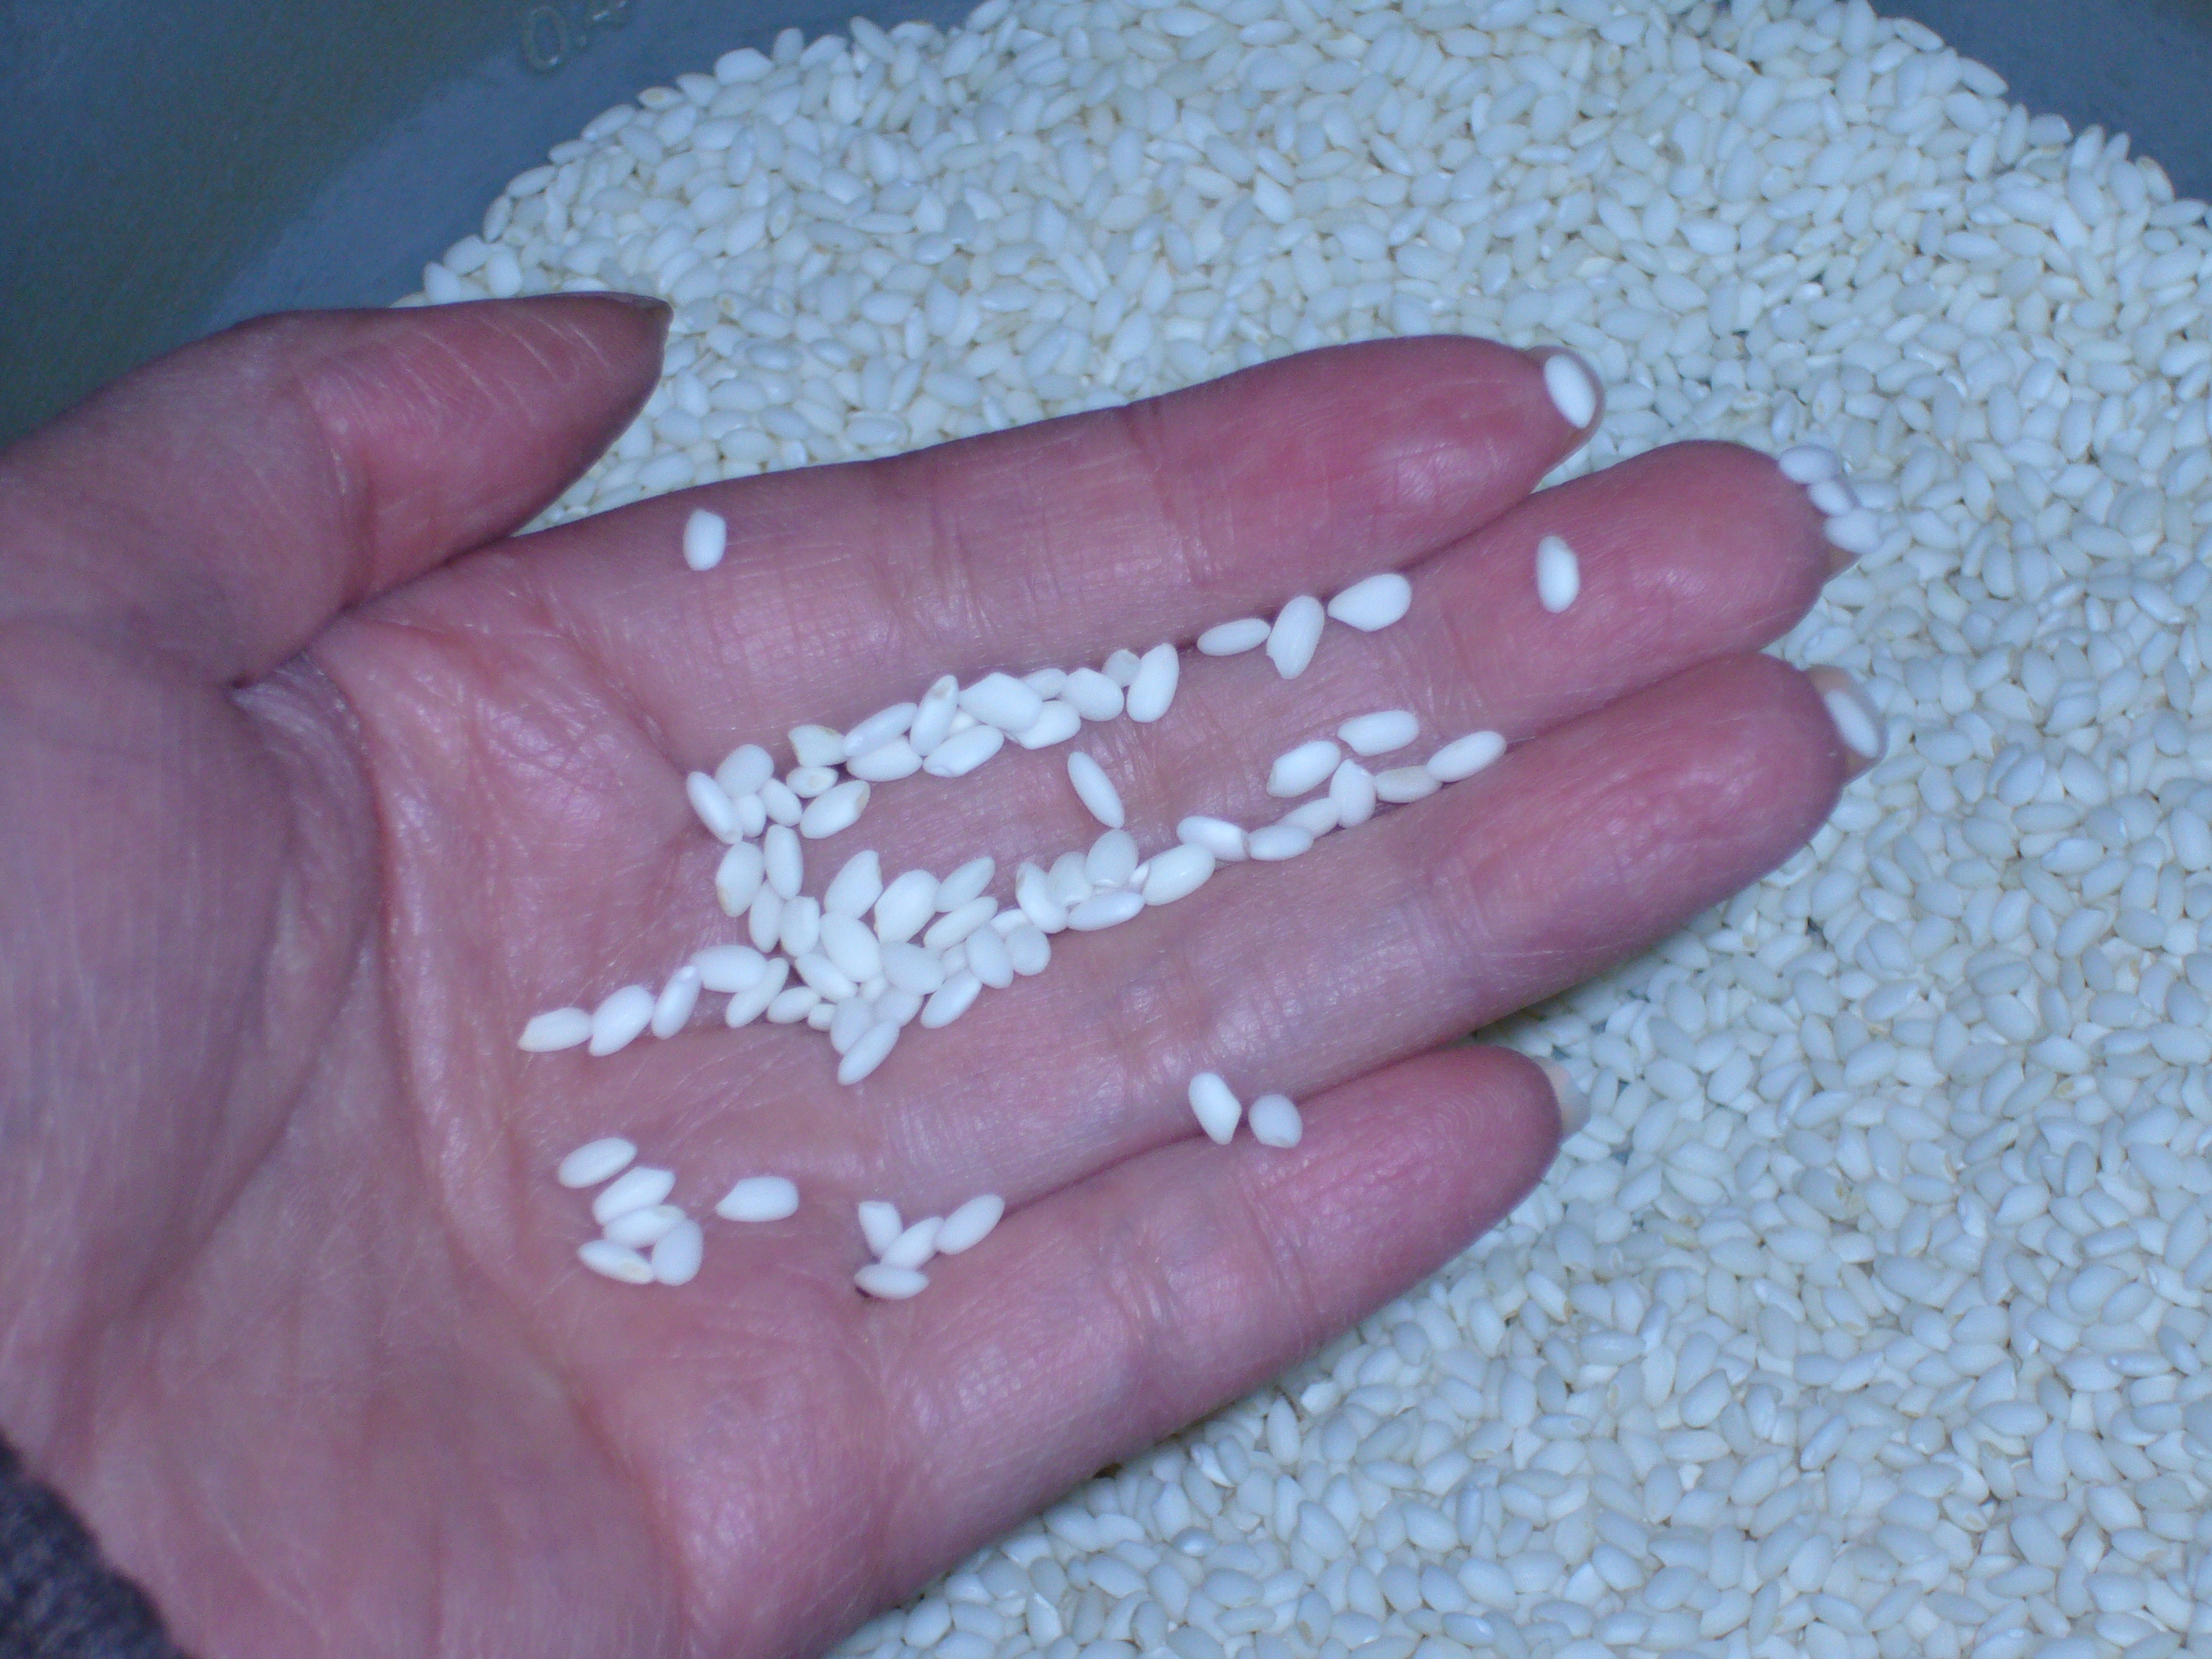
Mochi rice is different from regular rice. It’s whiter and is more plump than regular Japanese rice.
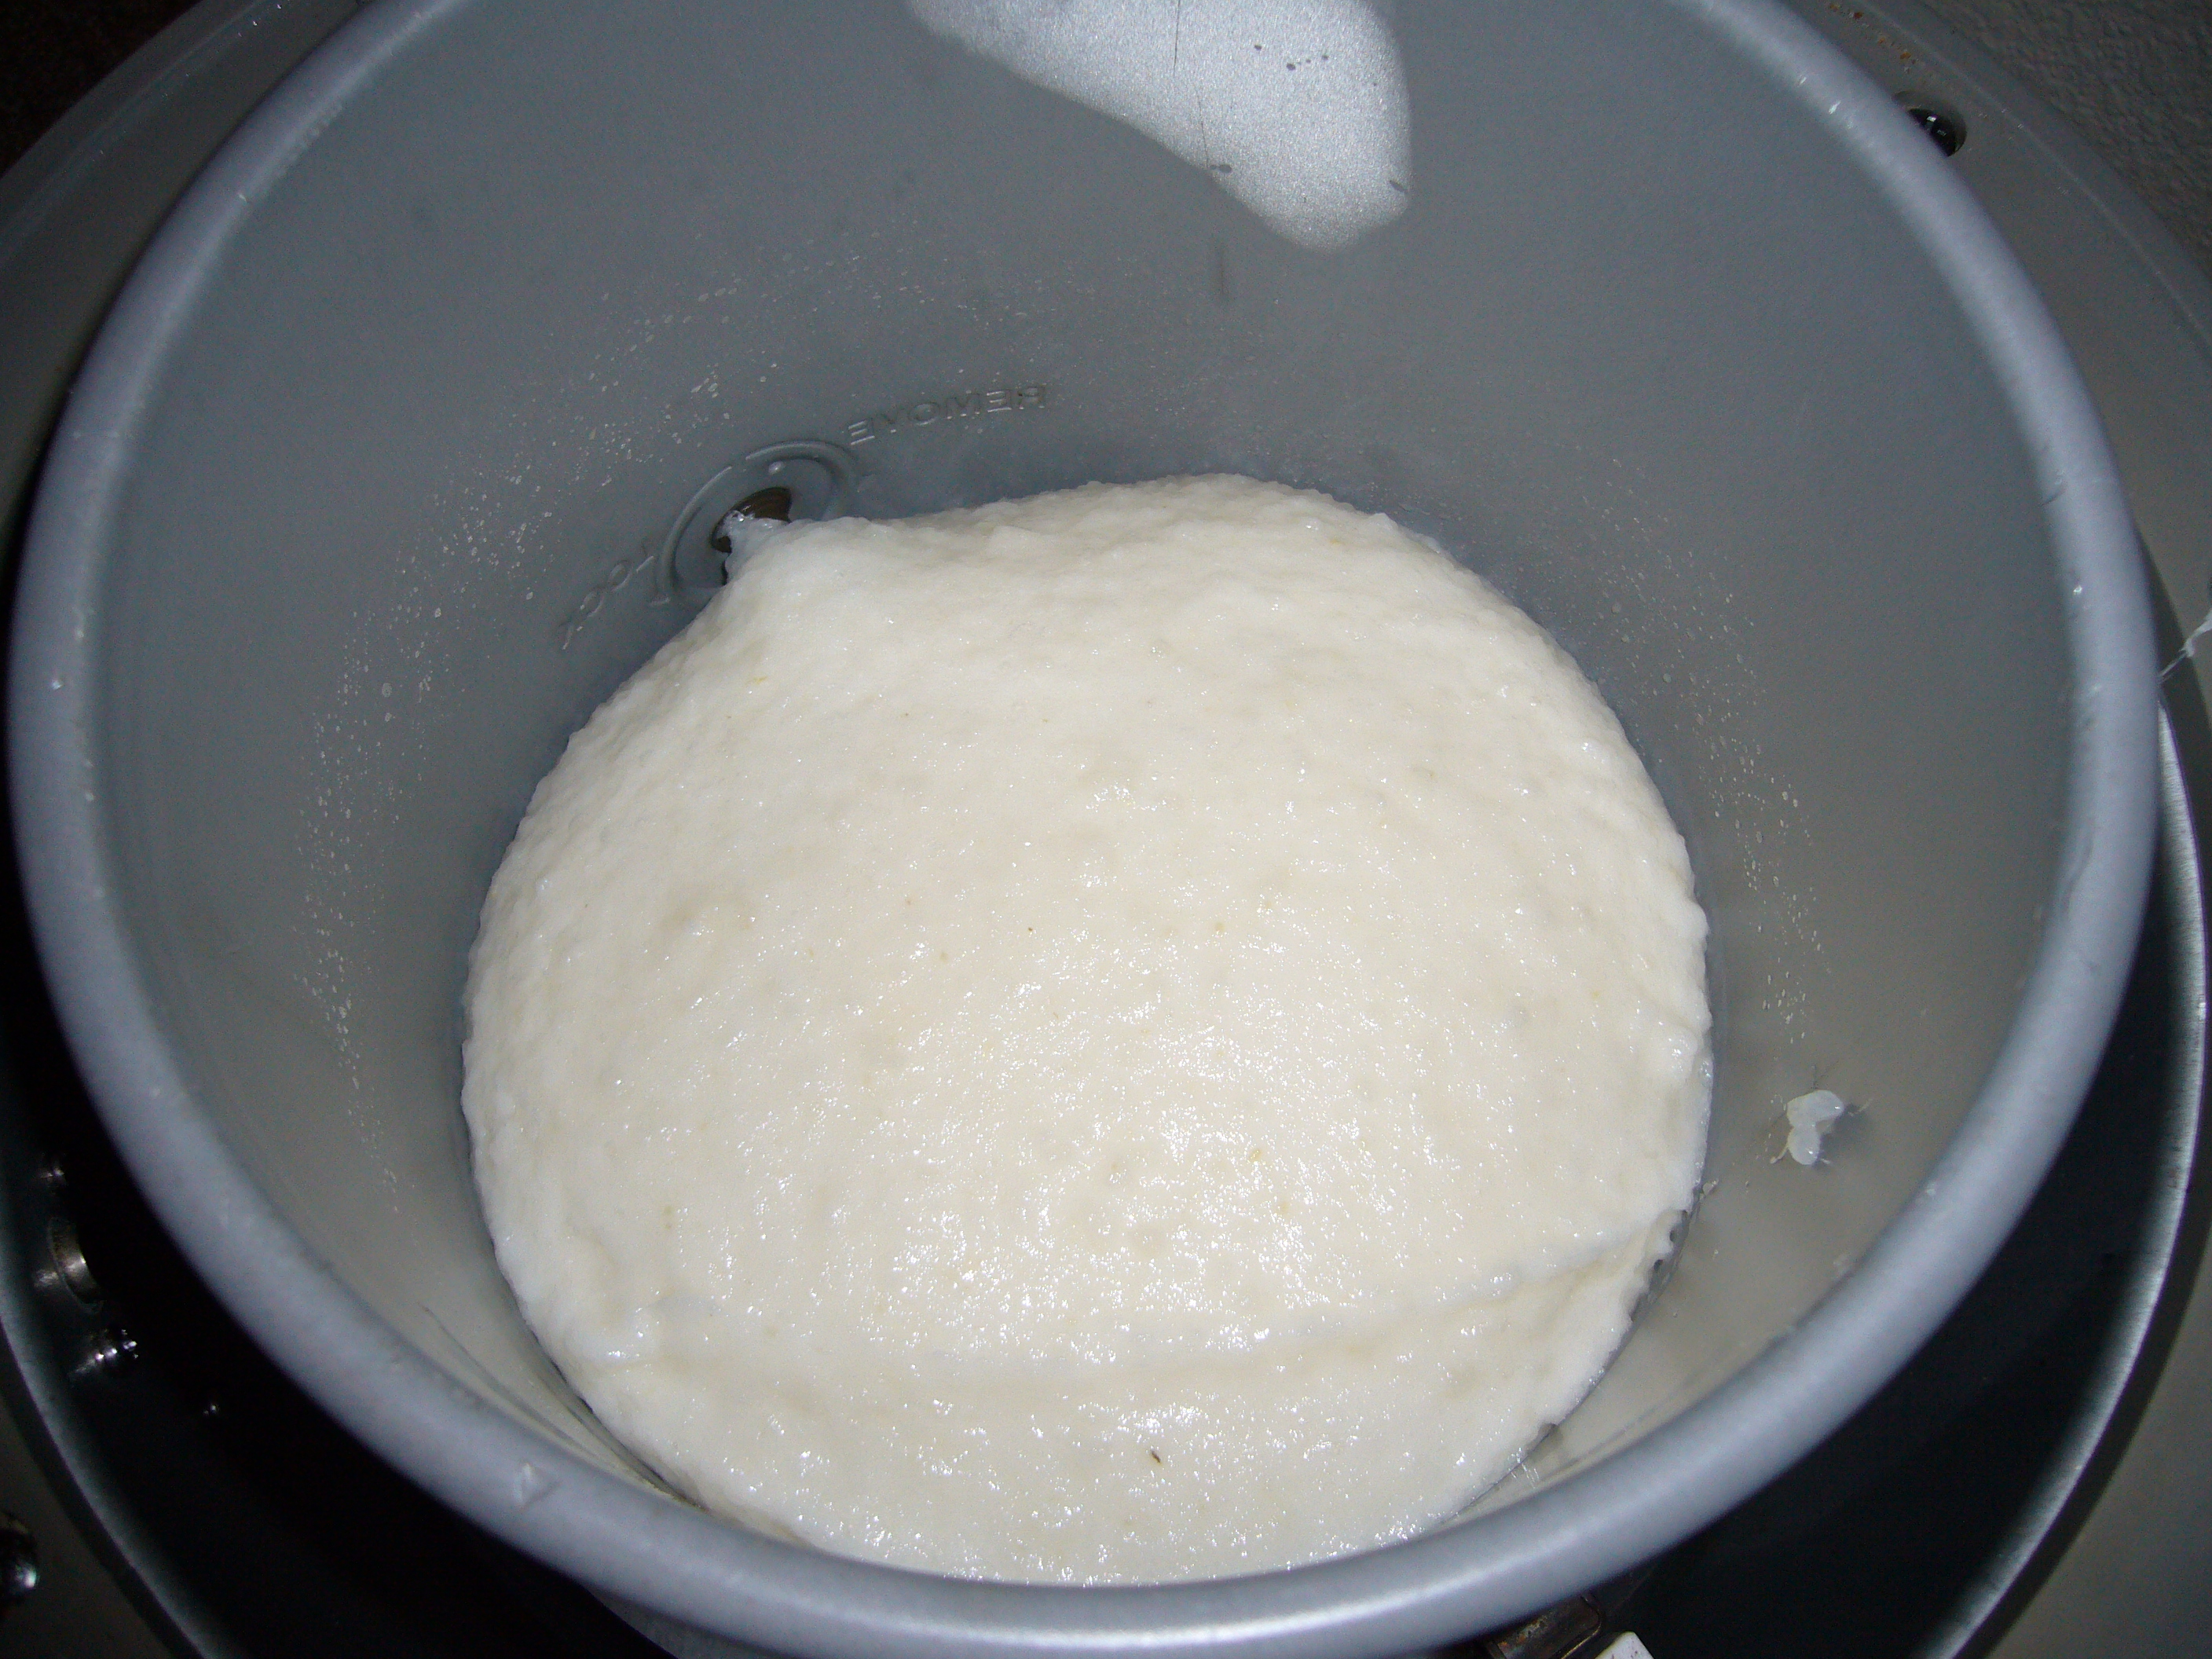
After cooking the sweet rice (mochi rice) in the rice cooker, add it to the bread machine or standing mixer with a kneading function.

After 7 minutes on the kneading cycle, the mochi rice is mochi! (Kneading times may vary with machine)
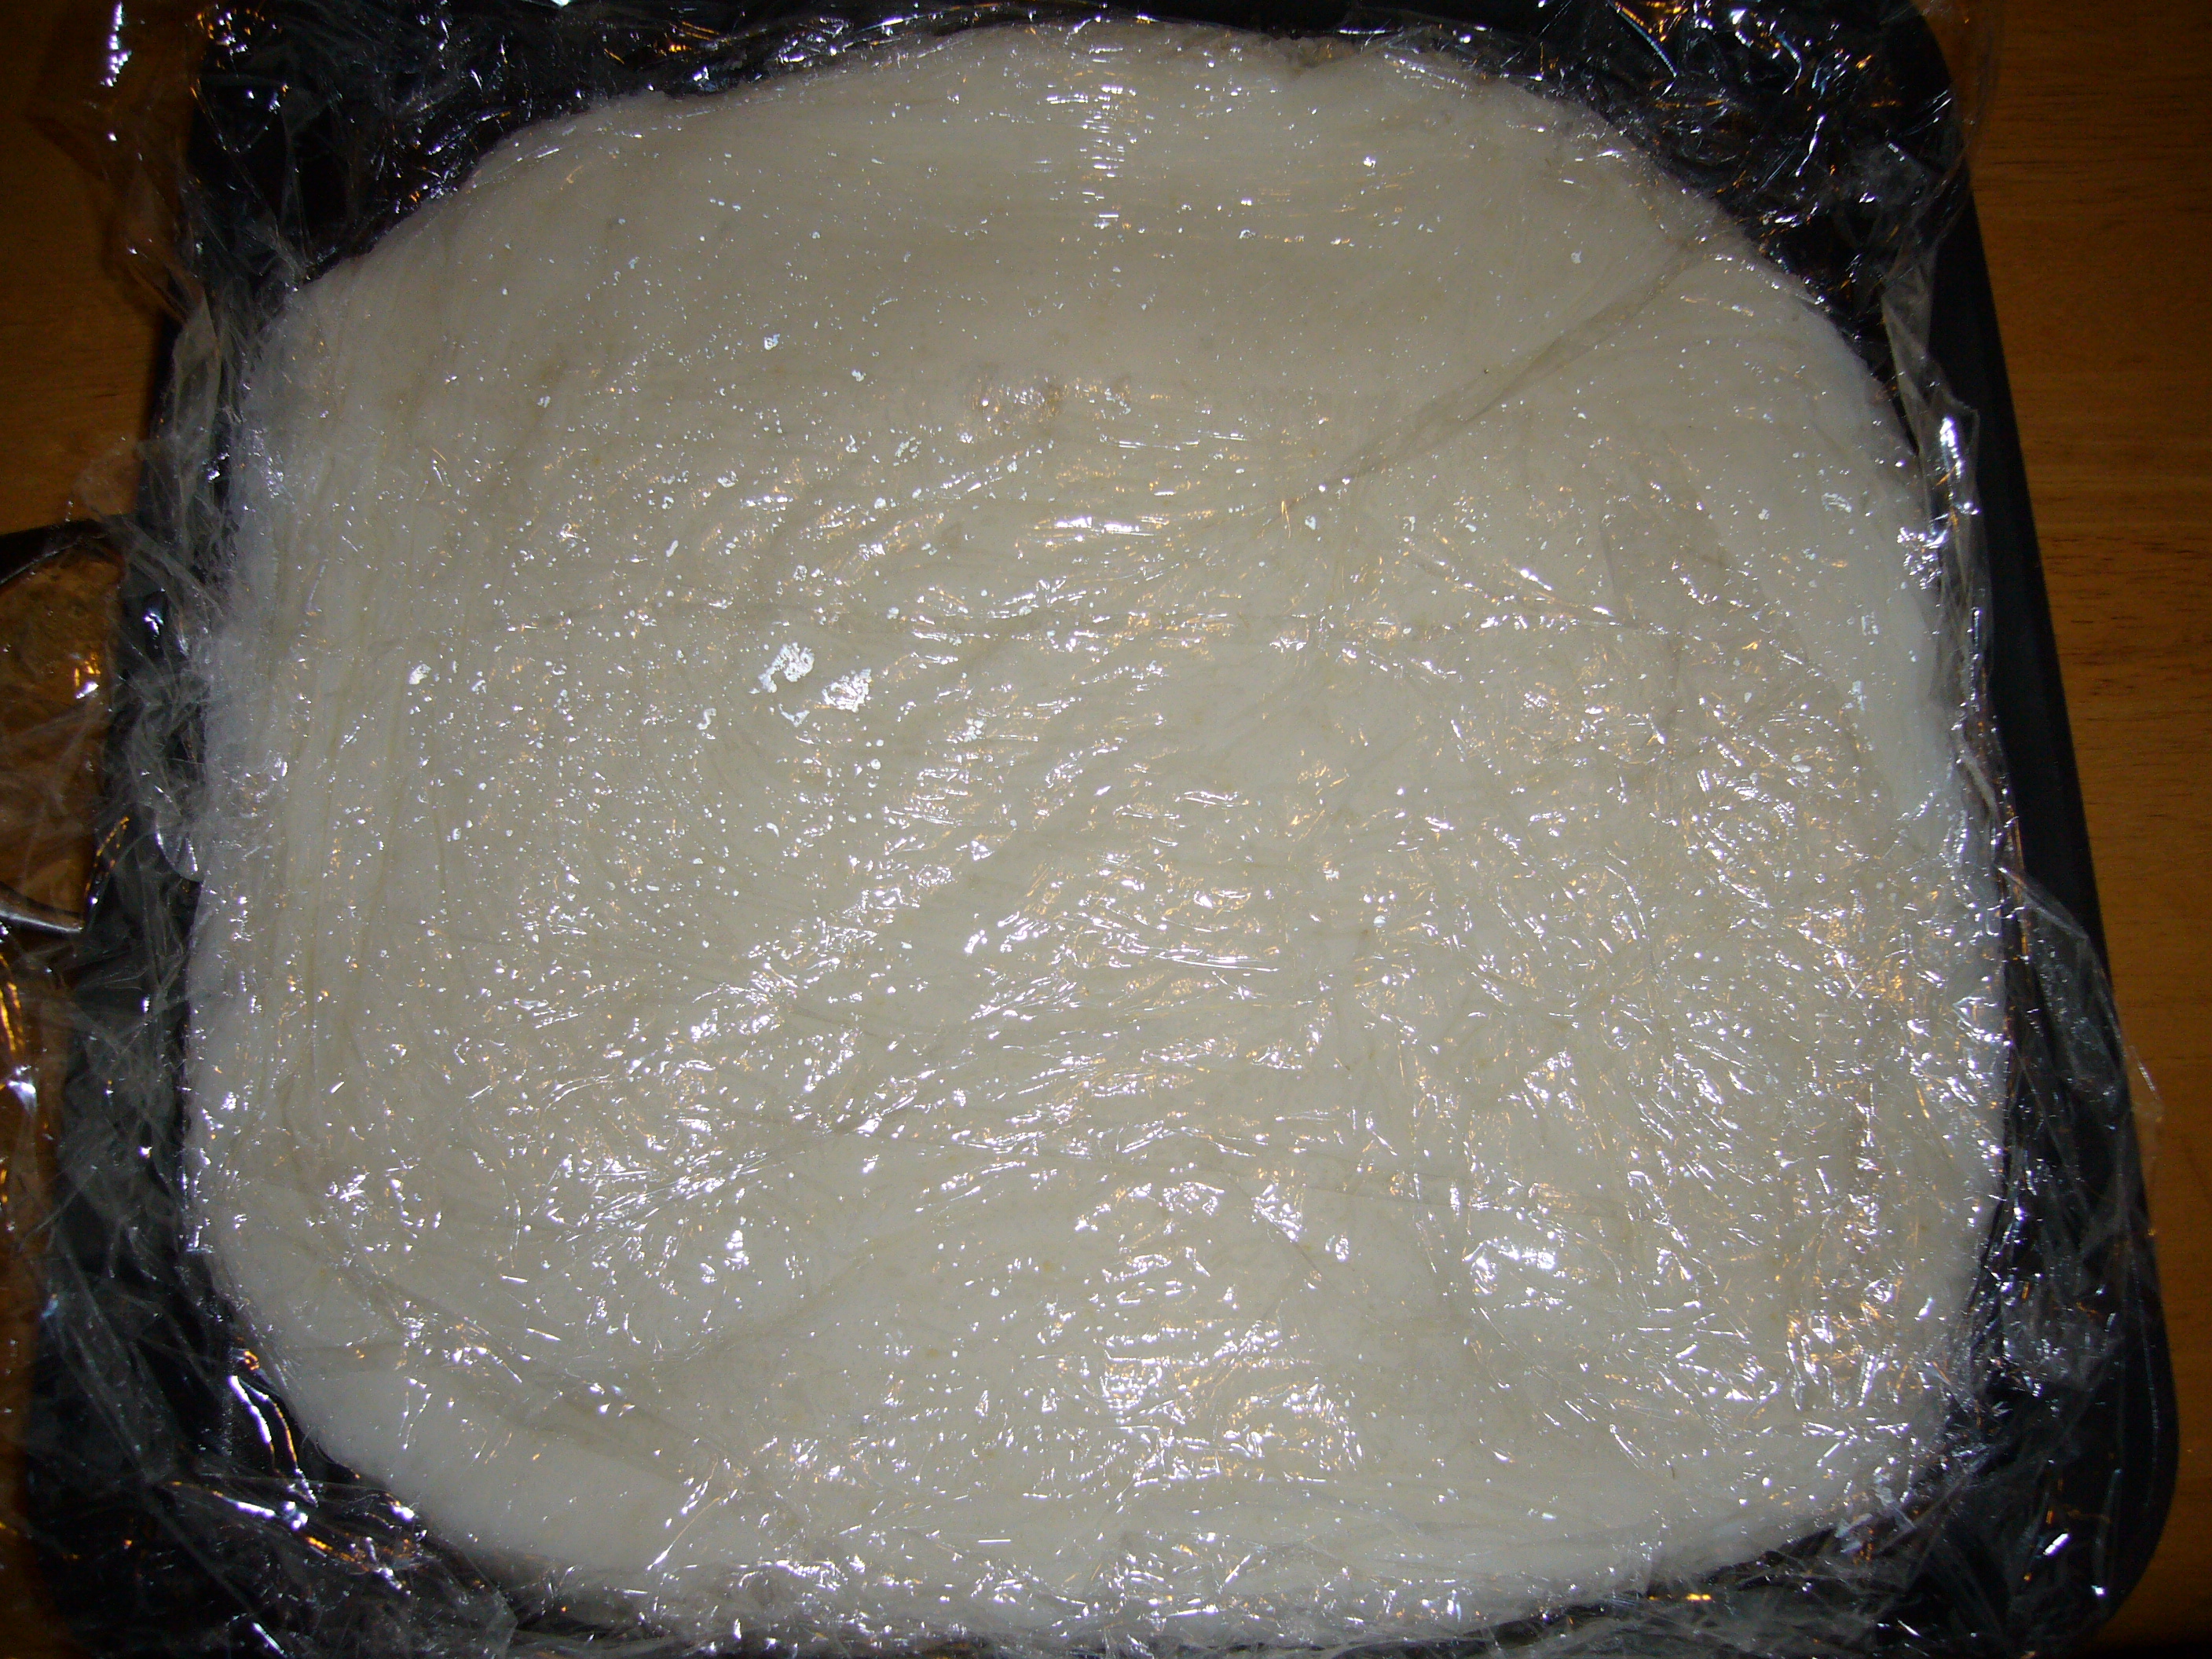
Line a tray or grill pan with plastic wrap.

Dump the mochi onto a plastic lined tray or grill pan. Use your hands and water!
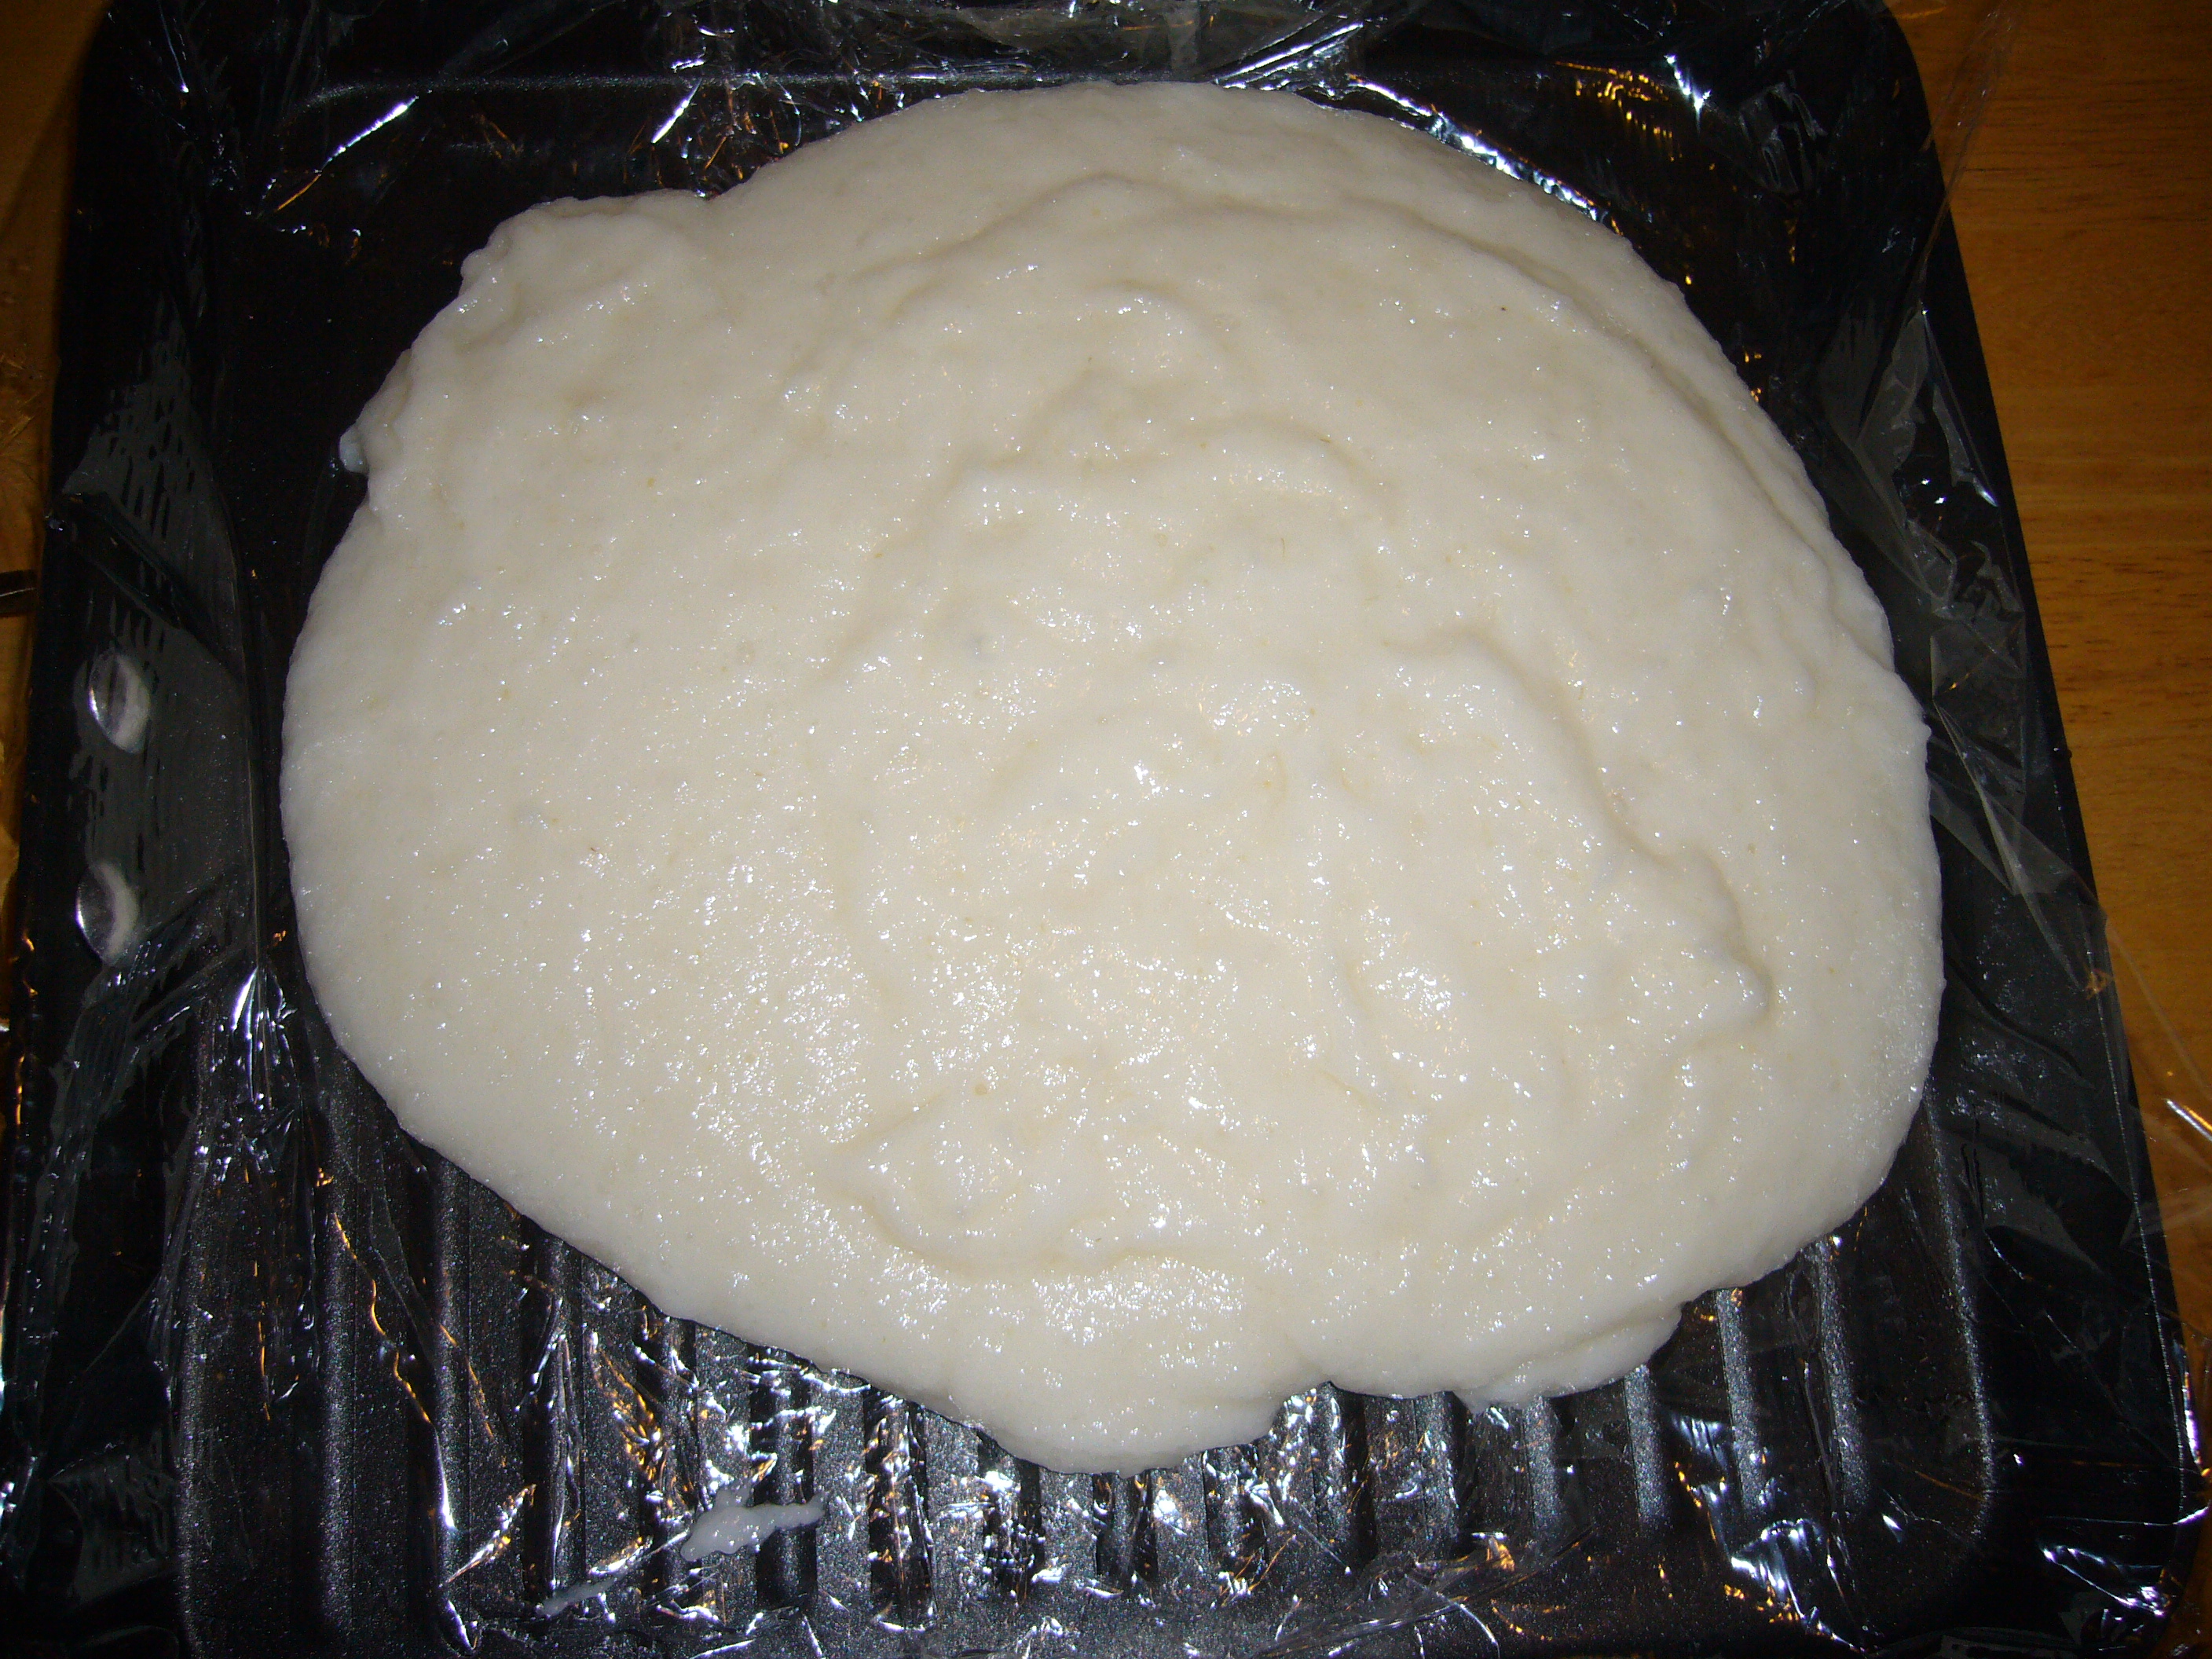
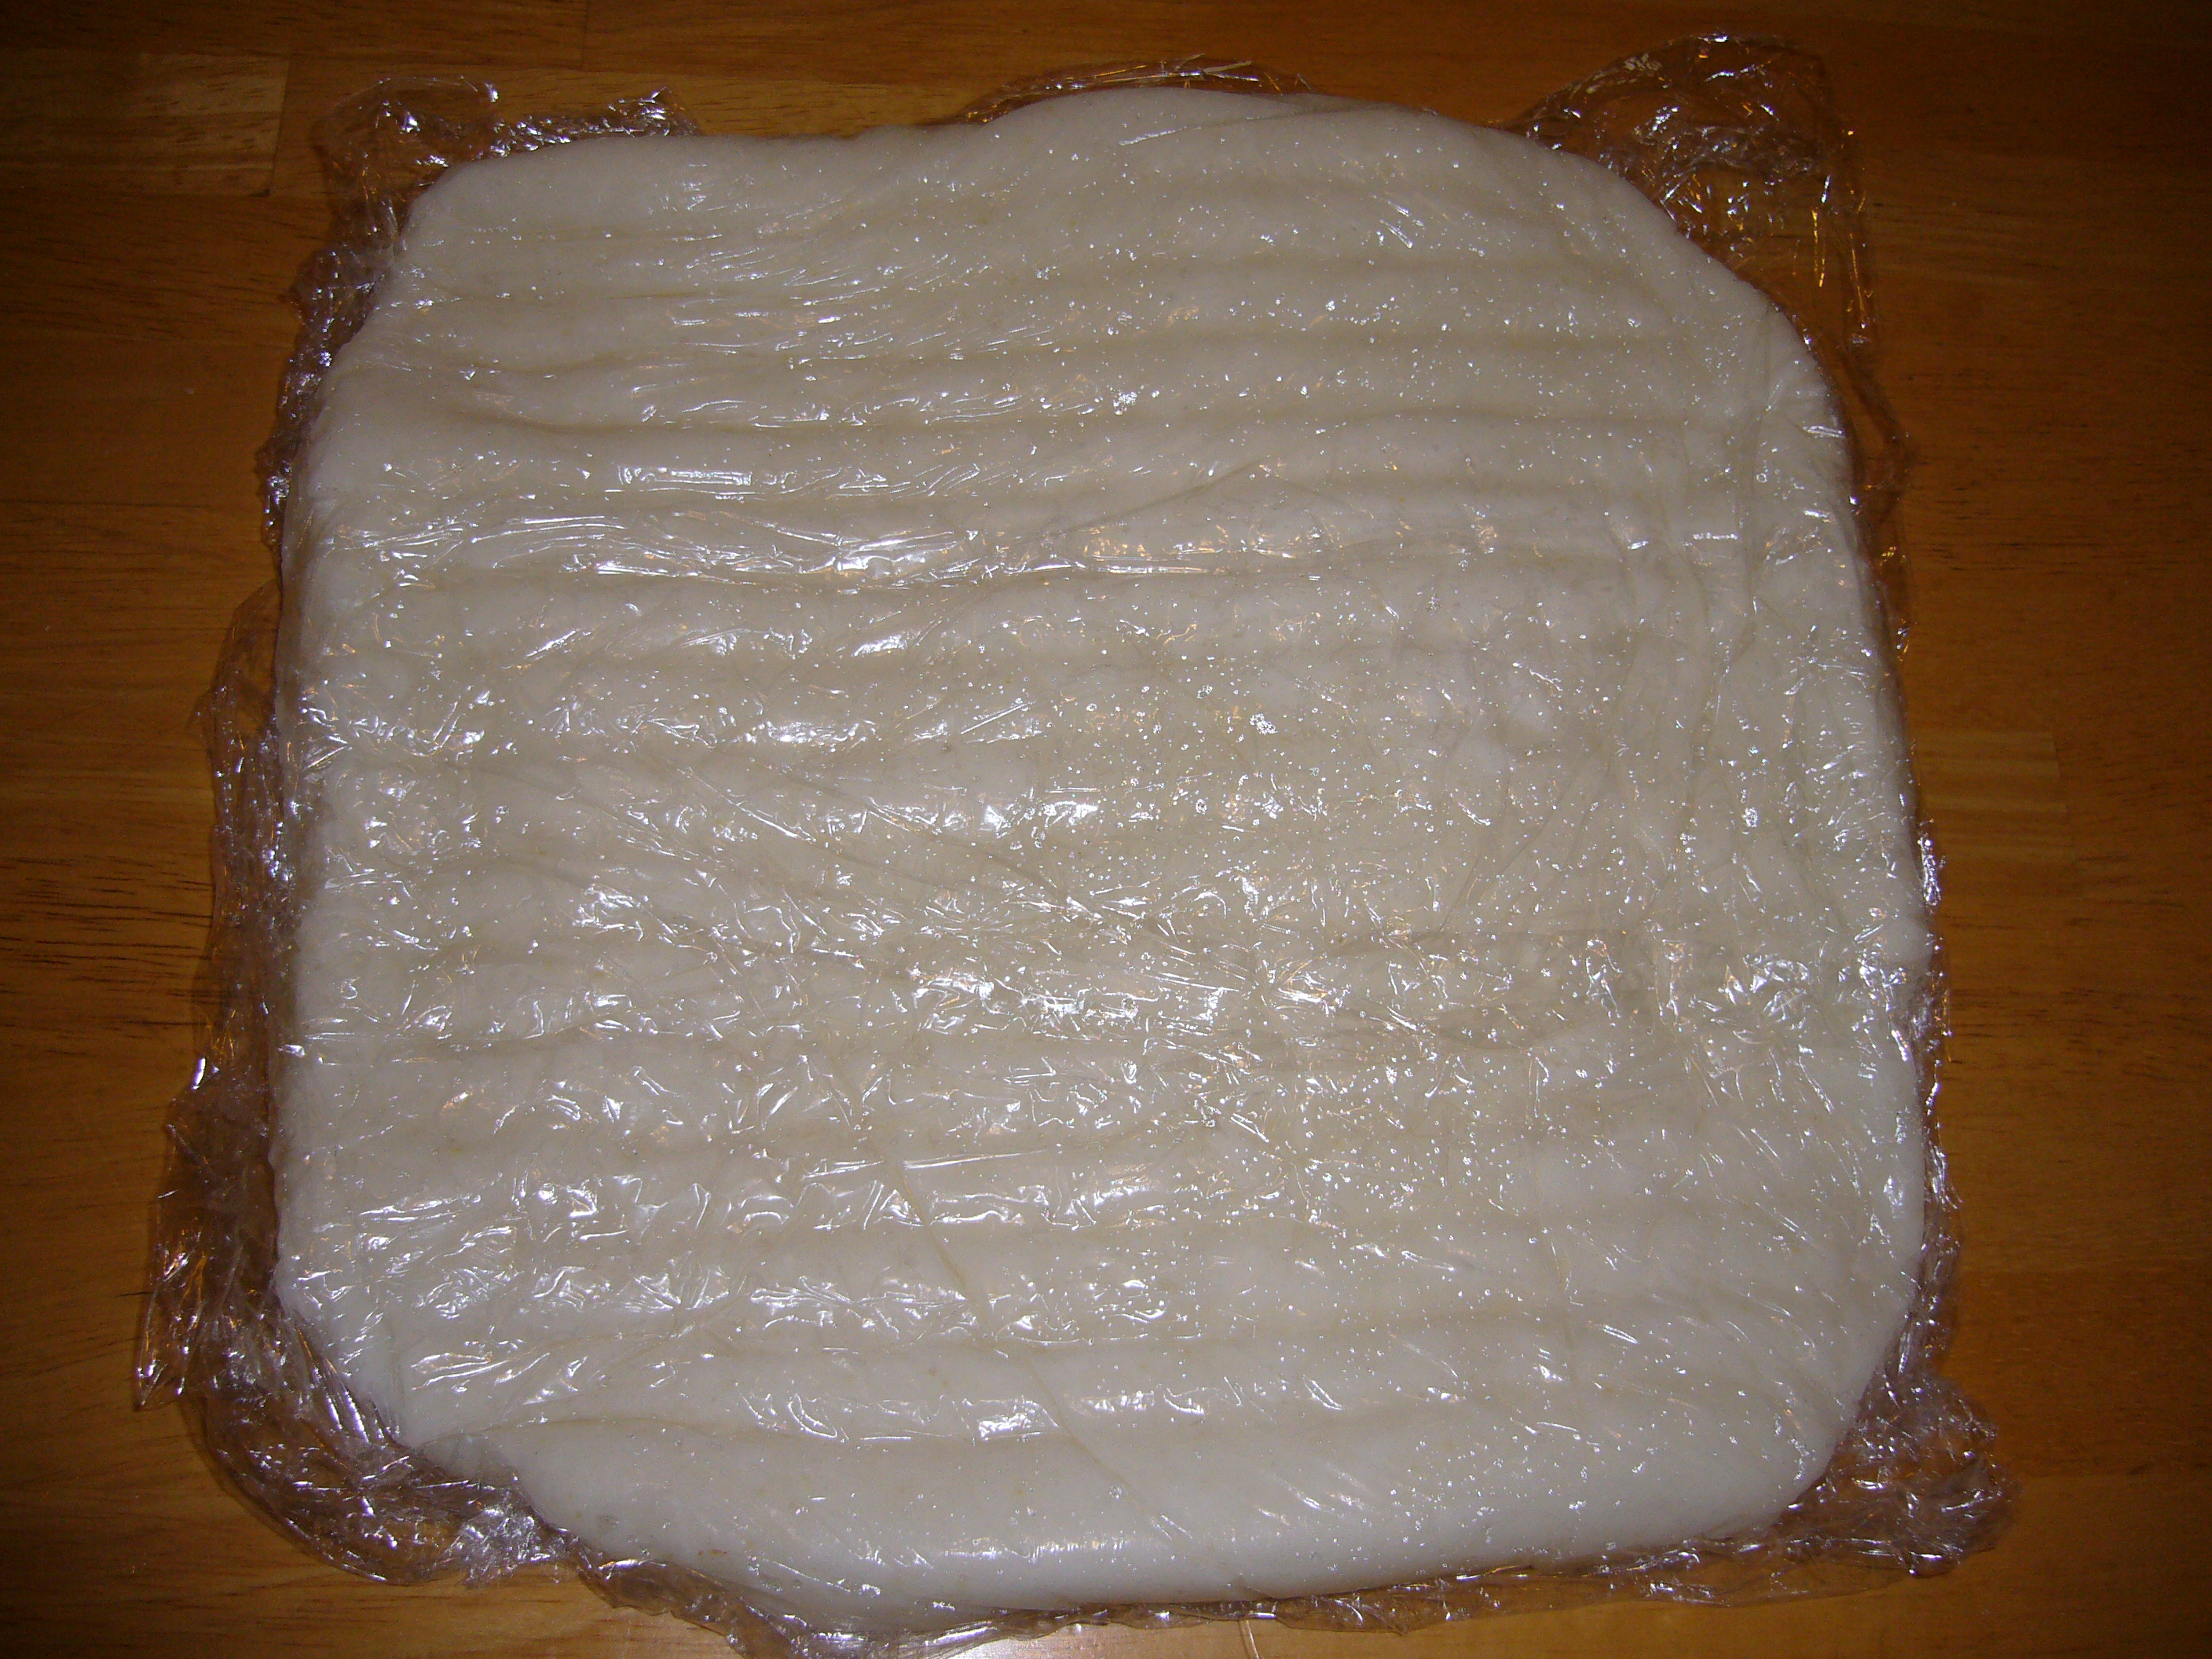
Lay plastic wrap over the top and spread out the mochi so that it’s about 1 inch thick all around.
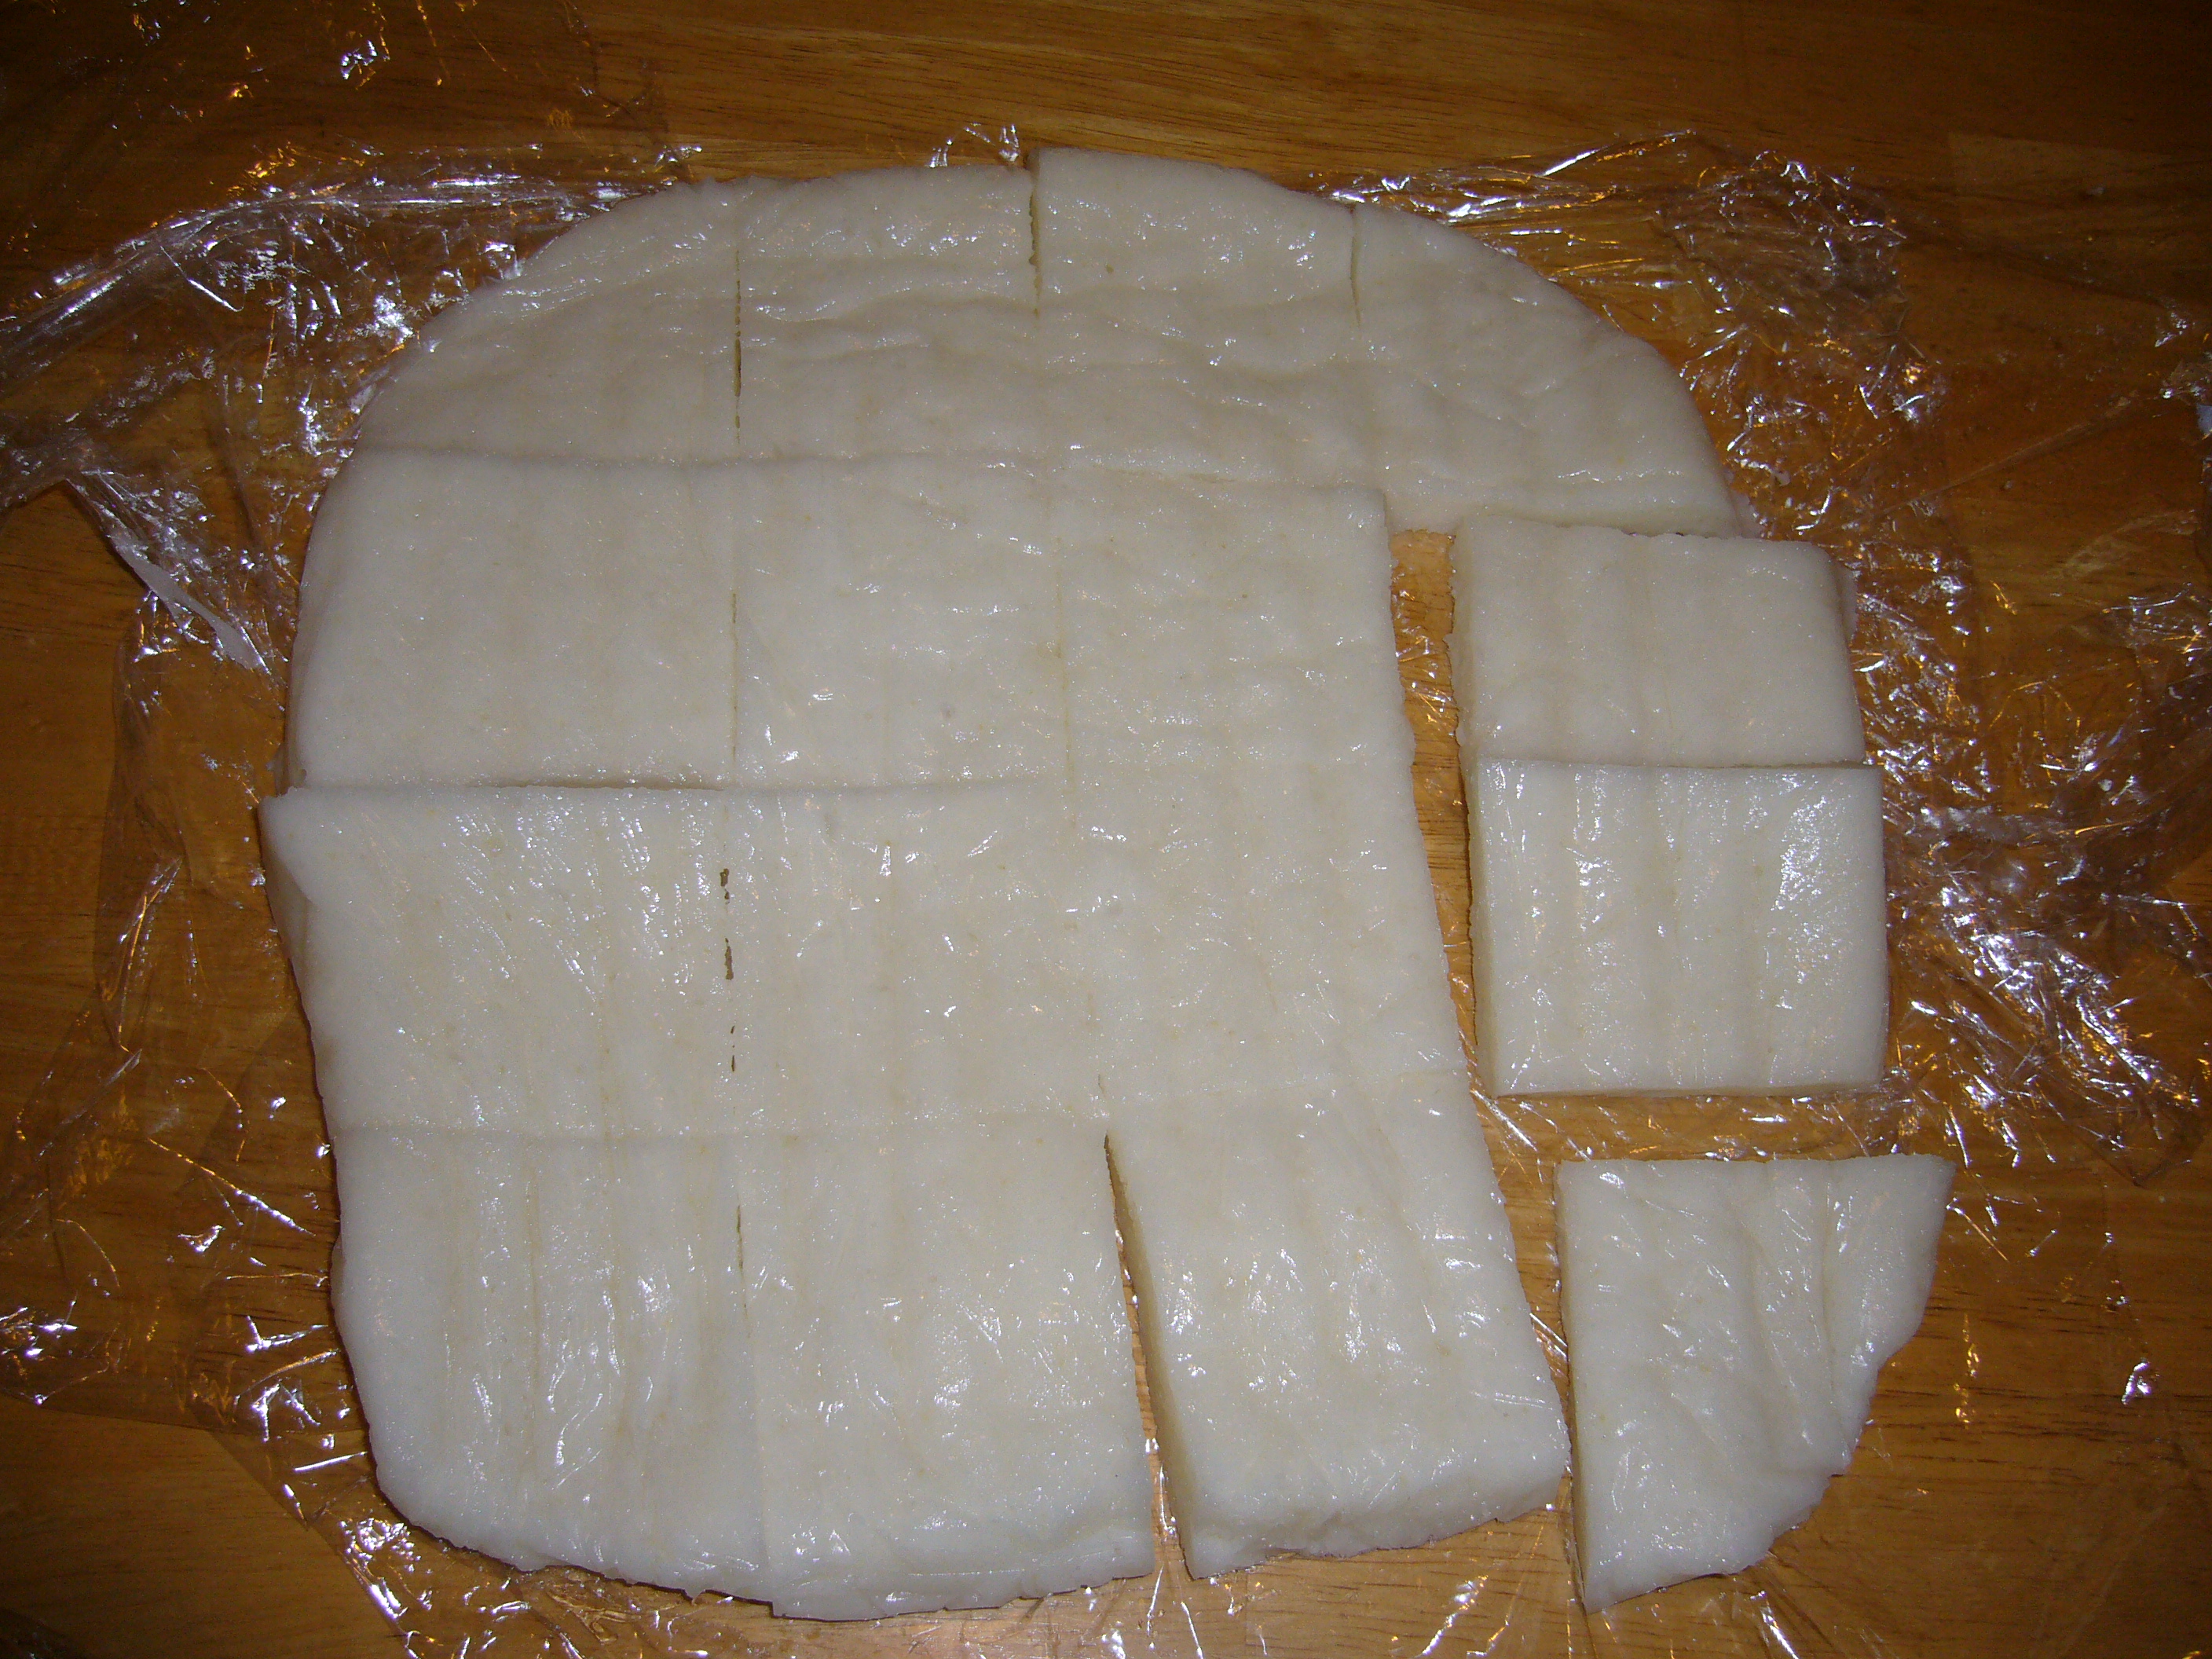
Place in freezer for 4-5 hours and flip over to see the lines.
Cut the mochi into squares.
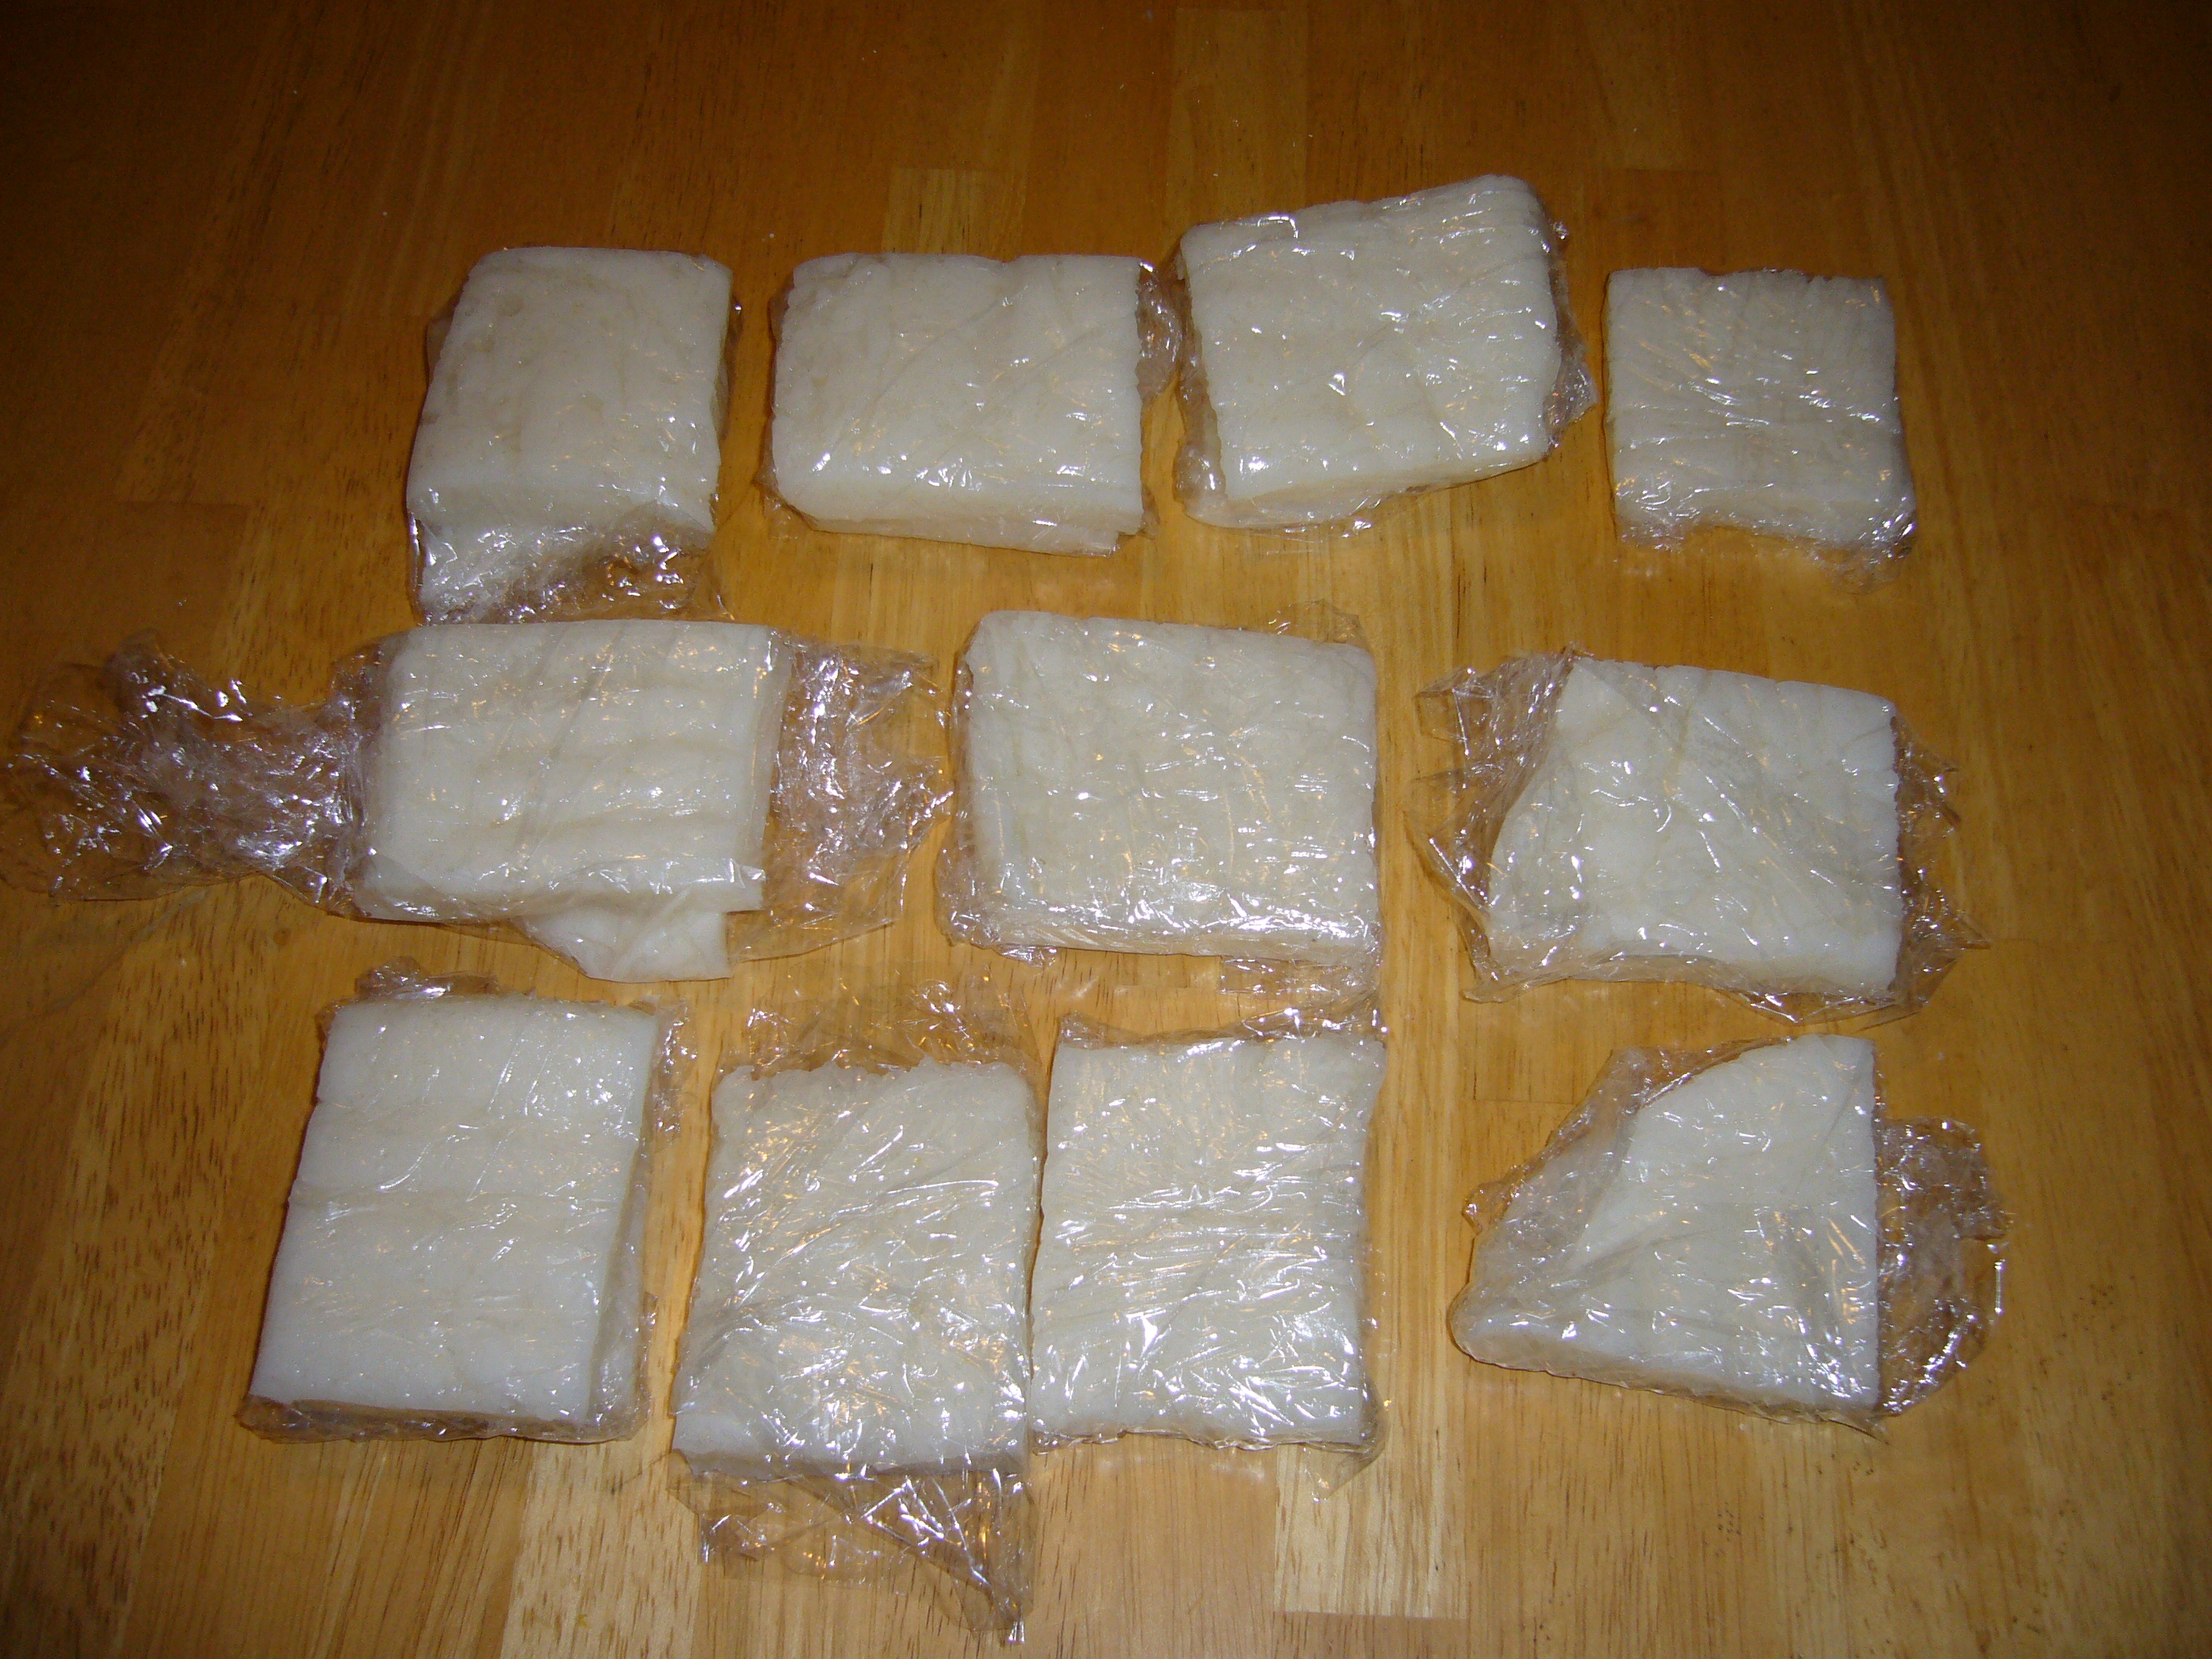
Wrap two at a time or one at a time into individual servings. Place the remaining mochi in a plastic bag and freeze.
Maru mochi (round mochi) vs. Shikakui mochi (square mochi)
In the Kansai region, mochi are typically round and in the Kanto area, they are square. I’m not sure about the rest of Japan but I find that making the square mochi are waaaaay easier.
umamitopia.com: Authentic Japanese, CA fusion, French & Italian influenced recepies.

Naomi Kuwabara was born and raised in California but spent many summers in Japan growing up. She has spent time living in Hokkaido and Osaka, both meccas for Japanese cuisine. Her passion is cooking and sharing her experiences cooking Japanese food with others. Her blog Umamitopia is about her experiences cooking Japanese food. Her greatest inspirations are from her mother and grandmother. Her cooking adventures can be found at http://umamitopia.com.